Sunday, December 29, 2013

Braised Kabocha Squash (カボチャの煮込み)


When I was a kid, my mom used to make this for us kids all the time. Thanks to the variety of squash that you can find at groceries and farmers' markets these days, it doesn't take a separate trip to a Japanese grocery store to find these kabocha buggers.

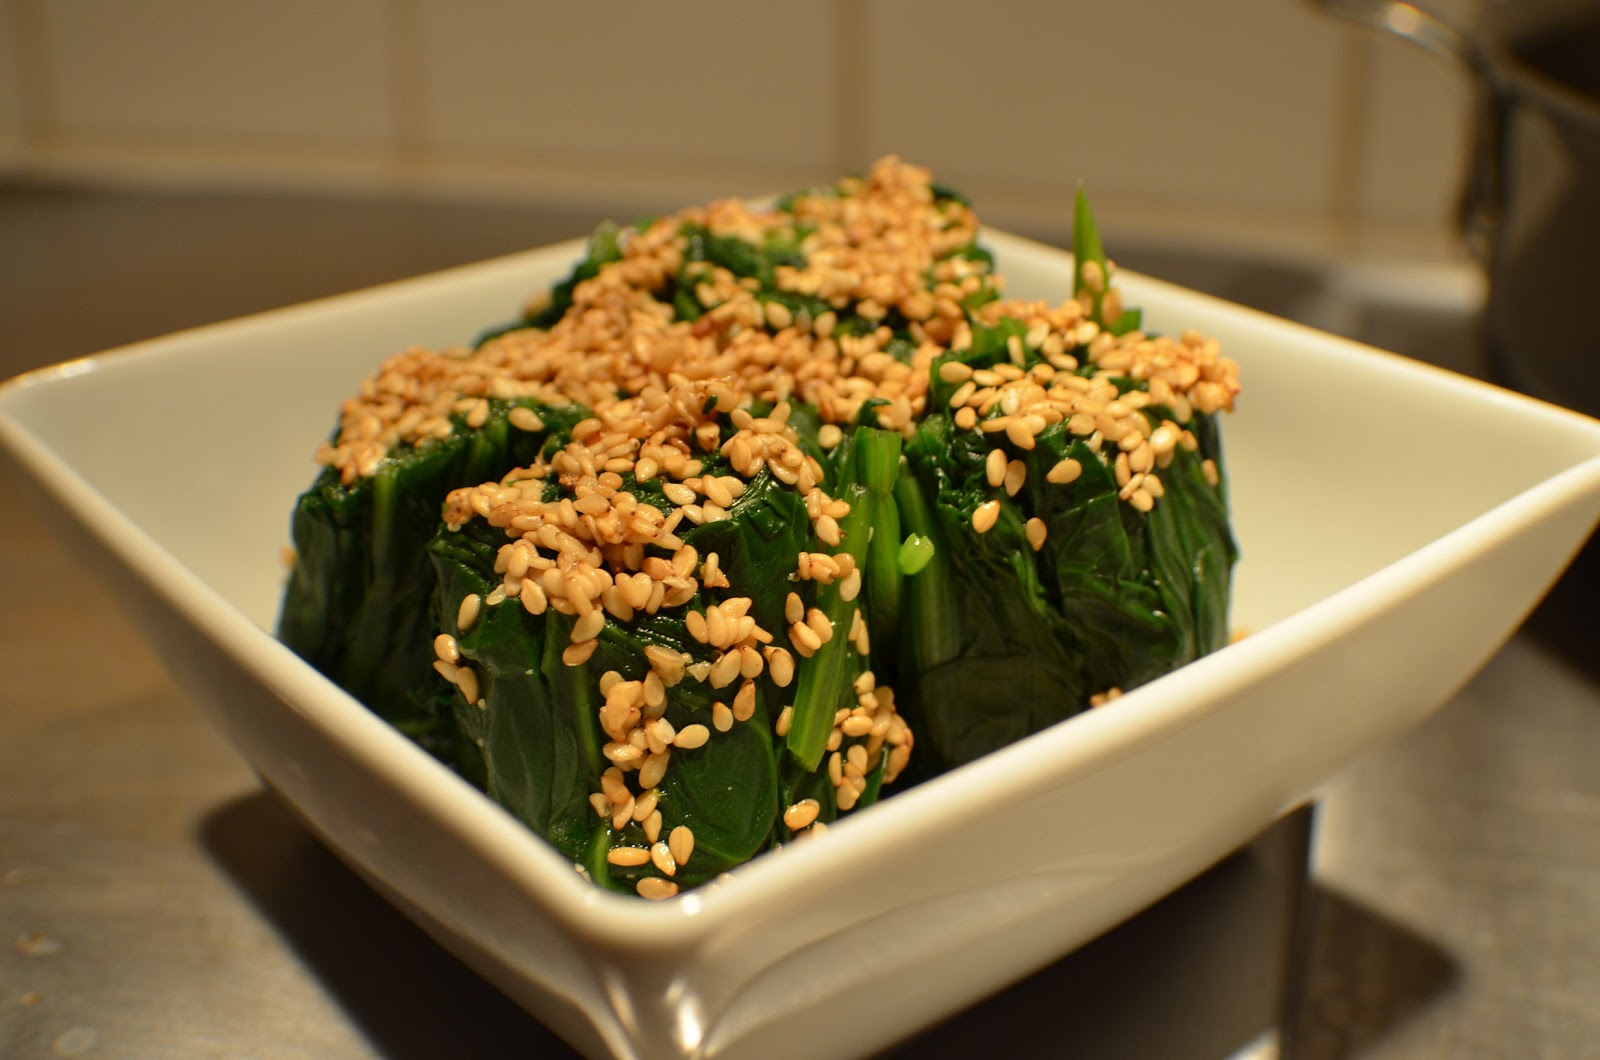
Here's what to gather for this delectable, nutritious side dish.

  • 1 kabocha squash (about the size of a canteloupe or slightly larger)
  • 1 tbsp soy sauce 
  • 5 tbsp mirin
  • 2 c dashi sauce (fish stock)
  • Salt and sugar (a dash of each)
  • Optional: 1 tbsp olive oil
There are a few key steps in making this dish come out lovely, and I'll note them as I go. (If you don't have dashi, you can make your own fish stock. If you have bonito flakes boiling some flakes in hot water also does the trick. Chicken stock is ok, but then you might have a dish that tastes like a half-done squash soup - though if you like that sort of thing, go with it. If you don't have mirin, you can mix sake with sugar, enough like you would add to your iced tea to make it sweet. White wine is an ok substitute, though not quite the same.)

First, I split the squash in half. Maybe I'm a wuss, but sometimes these kabocha are very hard - so I put on a mitt for my left hand and cleave the squash with a big, sharp chef's knife or santoku. Luckily, that's the only 'hard' part of making this dish. 

I scoop out the seeds so that I have two cleaned kabocha halves. I take the two halves, set them cut side down on a baking sheet, and bake the halves at 375 degrees F for about 30 minutes. Don't skip this step! If it's not roasted, you'll miss out on all the Maillard caramelization, that yummy, meaty, roasted taste that the squash will impart on your palate. Instead, you'll have a dry, pasty, dry - did I mention dry? - mashed mushy potato-like substance. If you have an oven that tends on the side of burning, you can brush the cut part of the squash with some olive oil to help it from crusting. Although roasting the kabocha adds to the prep time, it beats having to cut the raw kabocha into bite size pieces. That's hard work! The kabocha doesn't have to be cooked through and through, but it should be slightly browned on the skin and steaming when you lift it. I can tell they're ready when there begins to show a wrinkling in the skin and the color changes. 

Once out of the oven, I cut them into bite size pieces. Now that the squash has been roasted, it's a super cinch! 

My fingers will live on intact yet another day. Careful, the squash is steaming hot.

Into a large skillet go the bite size morsels. To the skillet, I add all the other ingredients: soy sauce, dashi sauce, mirin, a pinch of salt. At this point, I might add a pinch of sugar, but it's not really essential. Chances are the squash has imparted a lot of sweetness due to the roasting. The mirin also has sugar in it. So, I wait until the dish is done to adjust the sweetness with sugar at the very end. 


I get the liquid to a boil and then I turn it down to a simmer. I want the liquid to boil off, but my roasted squash is delicate so I don't want it to boil into oblivion. I stir occasionally to make sure that all the pieces get an opportunity to soak in the liquid. I have just the right spatula for this task - it's a floppy but heat proof spoon made of silicone. The floppiness saves my kabocha pieces from falling apart. I gently mix around the kabocha as it simmers. When all of the pieces have turned from an early spring yellow sunflower color to a deep summer orange sunflower, I know my dish is done. (This probably does not take much more than 30 minutes.) Give it a taste and add salt and/or sugar to taste. I serve these in individual bowls. The squash is meaty, hearty and delicious. Okawari onegai! 


Monday, January 21, 2013

Ponzu Hot Pot with Gyoza 水餃子

If you've ever made gyoza and had leftovers, and wondered how you're ever going to eat all of these gyoza you've made, then here's one great way to have them -- in a deliciously soul-warming hot pot dish.

I keep falling back to this dish because you just can't go wrong with it. Here are the basics, for a quick meal you want to throw together for yourself:
  • 5-6 gyozas 餃子
  • 1-2 leaves of napa cabbage, roughly chopped 白菜
  • 1 1/2 cups hot water 湯
  • a pinch of dashi だし
  • Less than 1/4 cup ponzu sauce ポン酢
  • Optional: enoki mushrooms, shiitake mushrooms, carrots, scallions, broccoli, tofu, etc., etc.! エノキ、椎茸、にんじん、ねぎ、ブロッコリー、豆腐、等々
If you missed my recipe for gyoza, it is right here: pan fried gyoza

Start by boiling 1 1/2 cups of water in a small pot. I like to use my stoneware for one (pictured above) so that I don't have to wash extra dishes! Throw in the dashi (fish stock concentrate). Once it comes to a boil, I add the gyozas and napa cabbage to it. If there's anything else I have around, mushrooms, veggies, whatever, I'll also drop that in. Tofu is a great addition, as is chicken, pork, meatballs or fatty fish like salmon. It's such a flexible dish, that it's perfect for getting rid of anything withering in the fridge. 

When my napa cabbage has softened and the gyoza has heated up, really just a few minutes on the stove and not much more, then it's done! 

To finish the dish, I add some ponzu sauce, a few tablespoons, to the boiling soup. This ponzu sauce... can be gotten nearly anywhere that sells Asian cuisine food / condiments. I suppose it's also called "citrus seasoned soy sauce." Originally I think it was made from a combination of soy sauce and a citrus fruit called yuzu but these days the commercially made stuff probably doesn't even have yuzu (it's pricier than lemon). So I add the ponzu to taste. If I add too much, it'll be too salty - easily fixable by diluting with hot water. 

On a cold winter's day, what better than to have a bowl of this deliciousness! To serve for a party of more than one, just make the hot pot in a big pot, leaving out the ponzu until the end, and serve the whole hot pot at the table family-style, with ponzu for everyone to add to their own bowl, to taste.

出来上がり!

Sunday, October 7, 2012

Yamaimo Soup とろろ汁

If you've ever enjoyed minced yamaimo in any tororo dish, you're sure to enjoy this. It's a twist on the traditional miso soup. Same base, but no miso.

Yamaimo is a type of yam that is usually eaten raw in Japanese cuisine. It has a sticky, gooey juice that, when the meat of the yam is ground down, becomes this slimy, binding goo with bits of pulp. It's almost never eaten alone since it isn't super flavorful. Its mouth feel and texture are so distinct, which makes it a key ingredient in a number of dishes including this one. The simplest way to eat yamaimo is ground with soy sauce over hot rice. Anyway...

The ingredients of this soup are simple:
  • 1 yamaimo, about 250g 山芋
  • 2 cups dashi jiru (fish stock) だし汁
  • 1 Tbsp soy sauce 醤油
  • 1 Tbsp mirin 味醂
  • 1 egg yolk 卵黄
  • 1 pinch of aonori  青のり
 I start with the dashi jiru. Onto the stove top to a boil. While it's heating, I give the yamaimo a wash and peel it.

Once peeled, it is quite a slipperly little sucker. So, I keep the last bit of the peel still on the edge. I love my ceramic mincer. It lets you grind the vegetable down and as it is ground, the bits fall outward into the moat around the bowl. This ceramic bowl is made in Japan, so you can find it sometimes in a Japanese grocery store. Aside from that, I'm not sure where to find one.

When the yamaimo is ground down nearly to the end, I give the last bit the final peel before I grind down the rest of the yamaimo.

My dashi stock has come to a boil. I remove it from the heat, and add the soy sauce and mirin.
By now, I've poured my minced yamaimo, that slimy, bitsy, slippery pulp, into a small bowl. With 250g of yamaimo, I get about 1 full cup of pulp.

I take my dashi stock and pour in small amounts into the bowl of yamaimo, mixing to incorporate the soup into the yamaimo. About half way through, I add one egg yolk to the yamaimo and mix well. I finish by adding the remainder of the stock to the mix.

Voila. Two large bowls full of tororojiru (yamaimo soup)! I sprinkle a pinch of aonori on top and serve. Itadakimasu!


Sunday, September 23, 2012

Roasted Rice Balls 焼きおにぎり

I can hardly believe that the frozen version of these are sold in some Trader Joe's stores today. When you're tired of making fried rice with your leftover rice, this is a great snack that you can make. All that you need is:

  • Leftover rice (at least 1 serving)
  • 1 tsp to 1 Tbsp soy sauce 
  • 1 umeboshi per rice ball (Japanese pickled plum or other condiment like takuan which is pickled daikon, Japanese salted cod roe, or you can even do a tuna salad inside. It tastes great!)
Here's a wee tip. If you want to make these roasted rice balls from fresh-made rice, by all means! There is a slight advantage to using leftover rice though, and that is that it's usually not as sticky as freshly steamed rice. When starting with leftover rice, just give the rice a gentle spin in the microwave, about 30 seconds for a single serving or a minute for a double serving. Here, I begin with roughly a double serving of rice. 
I take a piece of plastic wrap, and lay it on the counter. The plastic wrap just helps with the rice not getting stuck to all your fingers. I remember when I was a kid, my mom used to make rice balls with her bare hands, picking up rice out of the piping hot steamer. Suddenly one day, one of her Japanese friends gave her this tip that you could use plastic wrap so that the burning hot rice won't stick to your fingers when you make the rice balls. Ever since, it's been her tried and true method. Of course, here, I don't have hot rice, it's just warm enough that it's a little sticky for proper molding of the rice balls. 
I lay out the rice on the plastic wrap, in a mildly circular shape, a bit flat. In the center, I add my PITTED pickled plum, the umeboshi (梅干). Once safely in the center, I pick up the wrap and squish the rice together into a ball, making sure that the plum stays toward the center as I close up the rice around it. 

Then I take the ball and turn it into a triangular shape. Time to dab a little soy sauce on the outside of the rice ball. I brush both sides (or all sides, it's a matter of preference) of the rice ball with soy sauce on a brush. I'm careful not to overdo it, because I don't want overly salty rice balls. It's just enough that I know I'll get a good shoyu taste on the rice. 

At this point, I can either throw it on the grill or just pop it in my countertop oven. The grill being too much of a fuss when I'm not using it for anything else, I opt for the latter. (If deciding to grill, I make sure the grills on the barbecue are greased first so that the rice doesn't stick.) I pop the rice balls into the oven at 425 degrees F for about 10 minutes. Sometimes, if I want a crisper shell, I'll throw it on broil for a short bit. And that's it! Yummy onigiri for me. 

Sunday, September 9, 2012

Nira Omelet にら卵

I grew up eating this. Whenever we have nira left over from making gyoza dumplings or other dish, I head straight for the fridge to grab a couple of eggs and make this amazingly simple and delicious omelet. Nira is also sometimes called Chinese chives. It tastes like a cross between garlic and green onions, and looks like a flat version of green onions (without the bulbs on the end). They're dark green and they look like a bundle of grass.


Here is all that's needed:
  • 1/4 cup nira, roughly chopped
  • 3 eggs
  • 2 tsp cooking oil
  • salt
  • white pepper
  • soy sauce
I heat up the pan with some olive oil and then throw in the nira. Once that gets going, I drop in the eggs, scrambled. Some salt and white pepper get sprinkled in. Not a whole lot of salt, because later I'll be adding soy sauce. 

I let the bottom brown and then flip the omelet. A few minutes on the flip side and then all done! After I serve the omelet on a plate, I dribble a little bit of soy sauce on it, just to lightly coat. Enjoy! 


Tuesday, August 28, 2012

Agedashi tofu 揚げだし豆腐

Ah, agedashi tofu. That delicious, deep fried, delectable dish you can order as an appetizer at almost any Japanese restaurant. Well, I have a secret -- this thing is E-A-S-Y to make!

  • 1 block of tofu 豆腐一丁
  • 1/2 cup all purpose flour 小麦粉
  • vegetable oil for frying 野菜油
  • 2 Tbsp soy sauce 醤油
  • 3 Tbsp dashi sauce だし汁
  • 1 tsp sake 酒
  • pinch sugar 砂糖
  • 1 tsp fresh ginger, minced 生姜
  • 1 Tbsp fresh daikon, minced 大根
  • pinch dried bonito flakes (katsuobushi) かつおぶし
There are many kinds of tofu. No, seriously. Some are good for nabe or sukiyaki, some are good for hiyayakko, some are good for mabo tofu... but the one I like best for agedashi tofu is silken style tofu. Love that smooth silky texture when you get past the crunchy / gooey crust and there's that melt in your mouth goodness inside. I've used the soft tofu before, which is the best, but boy is it hard to keep intact through the dredging and deep frying. So I go for the medium or firm tofu.
I take the tofu out of the packaging, carefully. I cut it into 6 cubes. Then onto a paper towel for a few minutes. I want to get as much of the liquid out of the tofu as I can before I do anything more with it. 

Then, the flour goes into a bowl, and I coat my tofu cubes in it. I want to get plenty of flour on the sides, and am careful not to handle it with sticky fingers. The flour will get moist and stick to the tofu. If I handle it more than I need to, the coating of flour will rub right off. I leave it sitting in my flour until I'm ready for them to fry. (But when they go into the oil, gotta make sure to dust off any excess flour.) 

I heat up the oil for deep frying. I'm kind of a penny pincher about deep frying oil, because I'm not a fan of recycling oil too many times and I hate that so much goes wasted. So although I know that it's not the best practice, I do use the smallest pan I can find for the task. It saves oil! I want the oil to get nice and hot. My handy Japanese cookbook says 170-180 degrees Celsius but in reality I think I end up frying at about 150 degrees C and the tofu comes out just fine. I want to make sure it is good and hot though because if it isn't, the crust won't be crunchy and will fall off the tofu and make an unhappy mess. 

The tofu goes in for about 10-12 minutes total. I flip them once halfway because my oil isn't deep. They're fried till they turn a golden brown. 

While those are frying, I get my sauce ready. My soy sauce, dashi sauce, sake and sugar go into a small saucepan to heat. Turn it off when it comes to a brief boil. Then I take my little clump of ginger, peel it and mince it. Next, my daikon. I like to take the huge lug of daikon and mince it directly. These are left fresh and I reserve them to add as garnishes.  

Time for all of it to come together. Tofu comes out of the fryer and is set on some paper towels for a minute to drain the excess oil. My mom always used one layer of paper towel over a paper shopping bag (Trader Joe's, Whole Foods, etc.) which does all the heavy duty work. I've adopted this trick from her. Ok, tofu into a bowl, minced daikon and ginger on top, my sauce over it, and then the bonito flakes. Voila! Appetizers are ready. 

Ok, so what to do with all that leftover daikon? Come on now, it's Japanese cuisine night! Plenty of Japanese entree dishes that call for daikon. ;) 


Wednesday, August 22, 2012

Spinach Salad with Sesame Dressing ほうれん草のおひたし


My sisters and I loved our spinach growing up. Tasted great. It's because mom used to make this dish whenever we had spinach. In fact, I'm convinced that until I was an adult I'd never eaten just plain, raw spinach leaves as in a salad or whatnot.

There are a bunch of different combinations of this Japanese spinach "salad," like topping it with bonito flakes or pickled ginger. But here, I do a simple sesame seed dressing which is just as fast, easy and delicious. Serve it with steamed white rice or just by itself as a side dish.

Ingredients:
  • 1 bundle of fresh spinach (400g) ほうれん草
  • water, for boiling 水
  • 1-2 Tbsp white sesame seeds 白護摩
  • 1 Tbsp soy sauce 醤油
  • 2 Tbsp fish stock (dashi stock) だし汁
  • pinch of sugar 砂糖
After my spinach is washed, in a large pan, I let water come to a boil and then I drop in the spinach, all facing the same way. Not a lot of water needed, either - just enough that my spinach will be immersed in it.

For this big bundle of spinach, I do the spinach in two batches. 

The spinach boils so fast that it really takes less than a minute! I like my spinach not to be mushy and to have a little bit of firmness in the stem.

This is really more like blanching, I guess.

 As I remove the spinach, I keep them in generally the same direction so that it's easy to cut them later. I'll set them aside until the spinach cools a bit. Then I press them with a large knife or my hands to get the excess liquid out. This ensures that my dressing isn't diluted when I add it at the end.

Meanwhile, in a small bowl, I measure out my sesame seeds. Of course, the fancier self imagines me putting these in one of those grinding bowls but I don't have one of those. So I take my alternative stoneware bowl and using the back of a miniature ladle, I take those sesame seeds and crush them enough that the aroma of the sesame starts to diffuse into the air. Mmm...

 In goes the soy sauce, fish stock, and a pinch of sugar. It's that easy! Mix it together and time to combine it with the spinach.

About the fish stock. Just as I have chicken stock and beef stock bouillons/granules handy for that quick fix meal, I also have a jar of "dashi" around. It's made of bonito fish and well, the jar says it's a "bonito fish soup stock," whatever that means. This can be found at pretty much any Japanese grocery store, since it's what one needs when making something as basic as miso soup.

My dressing is ready so my spinach gets cut and squeezed together in a bowl. I add the dressing to it, and my side dish of spinach salad is done! Enjoy.